
This is an old revision of the document!
Table of Contents
Drip System Checklist & Set Up Requirements
Below you can find our step-by-step checklist followed by a walk-through video to help you get started in sending eBlasts and using up the Real Geeks Walkthrough-Drip System Tool.
Checklist
1. Go to http://drip.realgeeks.com/ . Only Site Owners have access to the Drip Feature.
2. If your site is not using the new Real Geeks name servers, you will first see a page requiring you to make this change. You will need to follow the onscreen instructions or video to change to the new name servers. This change may take hours to process, so you may need to come back later. If you do not see this message, it means you are already using the correct name servers.
3. You are now ready to start using Drip. See the Quick Walk-through Video for how-to start nurturing your leads through drip workflows and eBlasts
eBlasts & Workflow-Drip Walkthrough
Quick Walk-through Text
Go to https://drip.realgeeks.com/ . Only Site Owners have access to the Drip system to set up workflows, all users of Lead Manager will be able to subscribe and unsubscribe leads to workflows,but only Admins and Site Owners can send them eBlasts.
Drip System
You can access the Drip feature by going to http://drip.realgeeks.com/ or click on the ![]() icon in the top-right corner of the Lead Manager page and click on “Drip System”.
icon in the top-right corner of the Lead Manager page and click on “Drip System”.
If your site is not using the new Real Geeks name servers, you will first see a page requiring you to make this change. You will need to follow the onscreen instructions or video to change to the new name servers. This change may take hours to process, so you may need to come back later. If you do not see this message, it means you are already using the correct name servers.
There are different sections within the Drip Feature
Workflows
The workflows page lists the workflows you have created.

There are columns within the Workflows page that will allow you to monitor the performance of each workflow:
- Name: This is the name of the workflow.
- Status: This is the current status of workflow. A workflow is in draft mode until you publish it.
- Steps: This is the number of steps in a workflow.
- Leads: This is the number of leads currently subscribed to the workflow. This is a clickable link that you can click on to view all the leads subscribed to the workflow
- Sent: This is the number of times emails from this workflow have been queued for delivery.
- Delivered: This is the number of times emails from this workflow have been delivered.
- Opens: This is the number of times emails from this workflow have been opened.
- Clicks: This is the number of times emails from this workflow have been clicked.
- Unsubs: This is the number of times a customer has unsubscribed using an email from this workflow.
- Spam R.: This is the number of times a customer has submitted a spam report using an email from this workflow.
- Bounces: This is the number of times an email from this workflow has bounced. Common reasons for emails bouncing are incorrect addresses or full mailboxes.
- Failures: This is the number of times an email from this workflow has failed to send. Common reasons for email failures are incorrect addresses or full mailboxes.
- SMS: This is the number of times SMS from this workflow have been delivered.
Add a Workflow
To add a workflow, you would click on the “Add a Workflow” button in the top-right corner of the page.
 You can then choose to create a workflow from scratch or select from one of our pre-made workflows from our Library.
Create A New Workflow
When creating a workflow from scratch, you will be brought to a page that has no steps created yet.
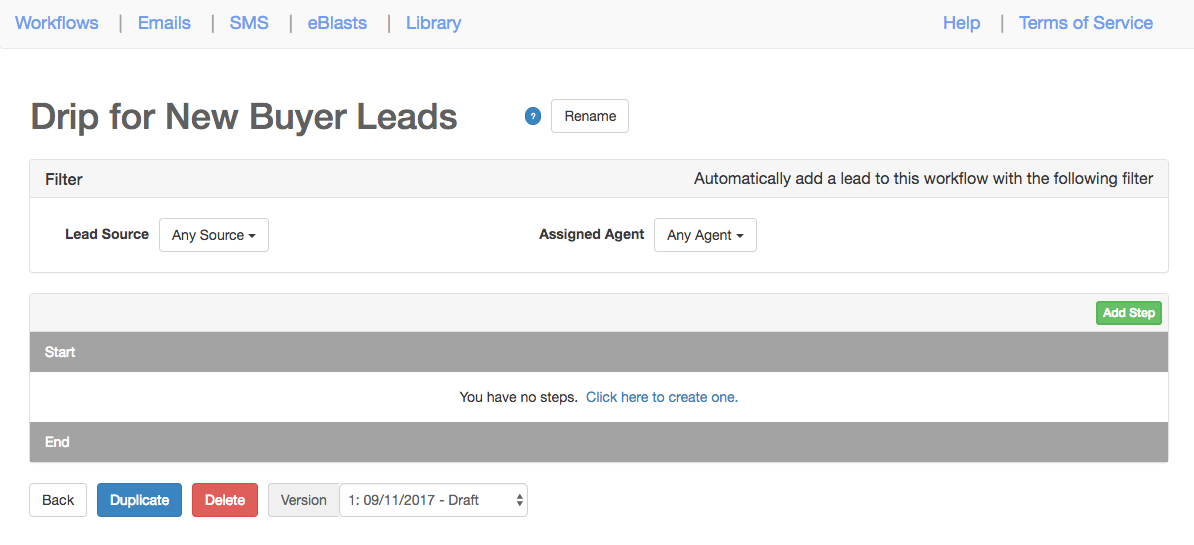
Filter

By default, a workflow will automatically subscribe all new leads. This is probably not what you want if you are making a workflow for a certain kind of lead, such as referrals, or if some of your agents need workflows with specific steps.
You can customize who gets added to your workflow by filtering on source, assigned agent, or both. New leads will be automatically subscribed as long as they match both the source and agent criteria.
What if I don't want leads to be automatically subscribed to the workflow?
If you don’t want any leads to be automatically subscribed, uncheck all the options in the sources and agents filter dropdown.
Regardless of your filter settings, you can also manually subscribe or unsubscribe leads from the Lead Manager.
Steps
When creating a new step, the step can do one of the following actions:
Email: Send an email out to the lead

Task: Create a follow-up for an agent regarding the lead
 Tasks can be set to “Pause”. This means that the drip will not proceed with for the lead until that task on the lead is completed. A task step creates a follow-up on the lead within the Lead Manager system.
SMS: Send a text message to the lead

Merge Fields
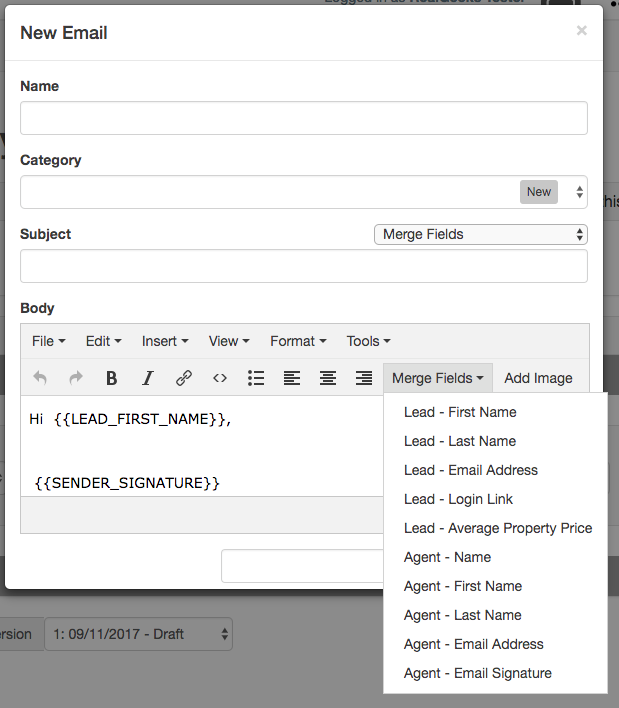
Merge fields will automatically insert lead information specified within the Lead Manager system. For example, {{LEAD_FIRST_NAME}} will pull in the lead's first name.
There are several merge fields you can play with, including one that will insert a URL that the lead can use to log in to your site directly from the email. Click here for a complete list of available Merge Fields.
A few important notes about this:
- Information for the merge fields is imported from the Lead Manager.
- The From address will always be the agent assigned to the lead when it was subscribed, or the site owner if the lead is unassigned.
- Any leads that are missing the information for a merge field will not receive the email.
Create your first Email Step
- Click 'Add Step'
- Create an email for this step by clicking 'New'
- Give this email a name. This is never displayed to leads; it’s just there to help you keep track of your emails. You can also add categories to organize your emails.
- Next, give it a subject and a body. Here, you can also add merge fields like {{LEAD_FIRST_NAME}} to automatically insert lead information.
- Click 'Save' to create your email.
- Back in the step, select how long you want to wait before sending out the email. Since this is the first step in the workflow, this tells the drip system how long to wait after the lead is first subscribed. For subsequent steps, this how long to wait after performing the previous steps.
- You can add as many steps as you like, and any changes you make to your draft workflow will be saved automatically.
Publishing your Workflow
- Once you’re happy with your steps, emails, and filters, click 'Publish'. As soon as you do this, your workflow is live and can start sending emails right away!
- After a workflow is published, you can adjust the filter settings, but you can’t make any changes to the steps. However, you can create a new draft version by clicking ‘Edit’. While you’re working on the draft version, the last published version is still active and sending emails.
- Once you have made all of your changes, click ‘Publish’ on the draft version. Any existing subscribed leads will be converted to the new version as part of the publishing process.
Emails Button

You can view the emails sent out for a Drip workflow by clicking the “Emails” button.

From there you can view the statistics of a lead's email, such as how many times the email was opened.
Manually Subscribe and Unsubscribe Leads
To manually subscribe or unsubscribe leads, you’ll need to go to Lead Manager.
To manage the subscriptions for an individual lead
- click on the lead to view the lead details page.
- From here, click on the ‘Drip’ tab.
- Select a published workflow, and click 'Add'.
- You can also unsubscribe the lead from a workflow by clicking 'Remove'.
To manage subscriptions in bulk (available only to Admins and Team Leaders), go to the leads page.
- Perform a search or click the checkbox next to all leads you would like to subscribe to or unsubscribe from a workflow.
- Click the ‘Actions’ button and select “Drips”.
- Similar to other bulk operations, you can also choose to subscribe/unsubscribe all leads in your current search.
- From the popup, select the workflow you would like to subscribe or unsubscribe from.
- Select the subscribe or unsubscribe action and click 'Next'.
- Verify the action on the confirmation screen and click 'Change Subscription'.
- You can check the results on the ‘Drip’ tab on the lead details page.
Emails
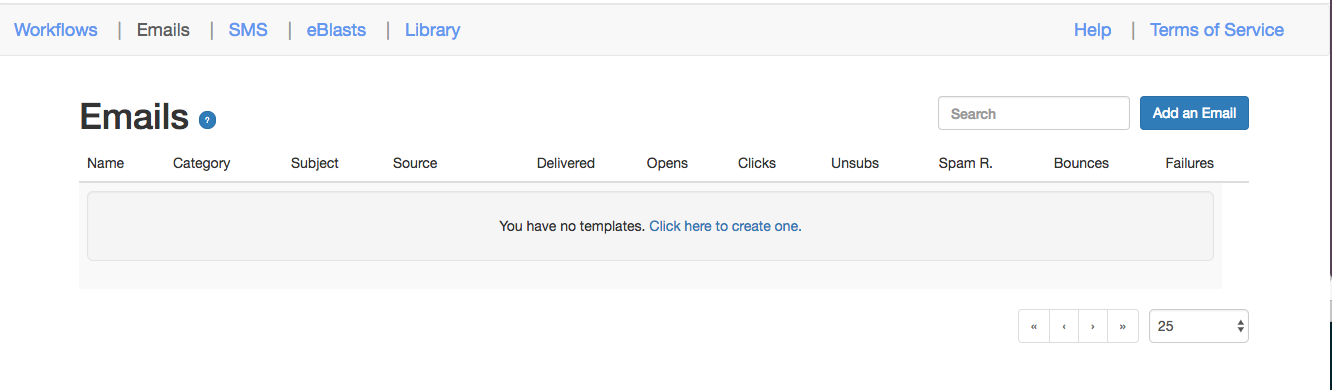
This section contains all the email templates created within your workflows or eBlasts. You can edit or create email templates from here.
SMS
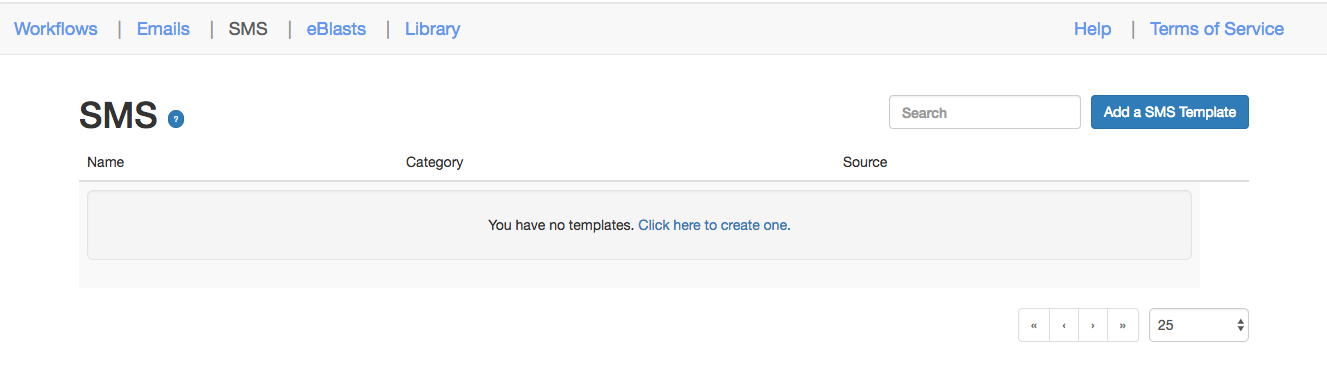
This section contains all the SMS templates created within your workflows. You can edit or create SMS templates from here.
eBlasts
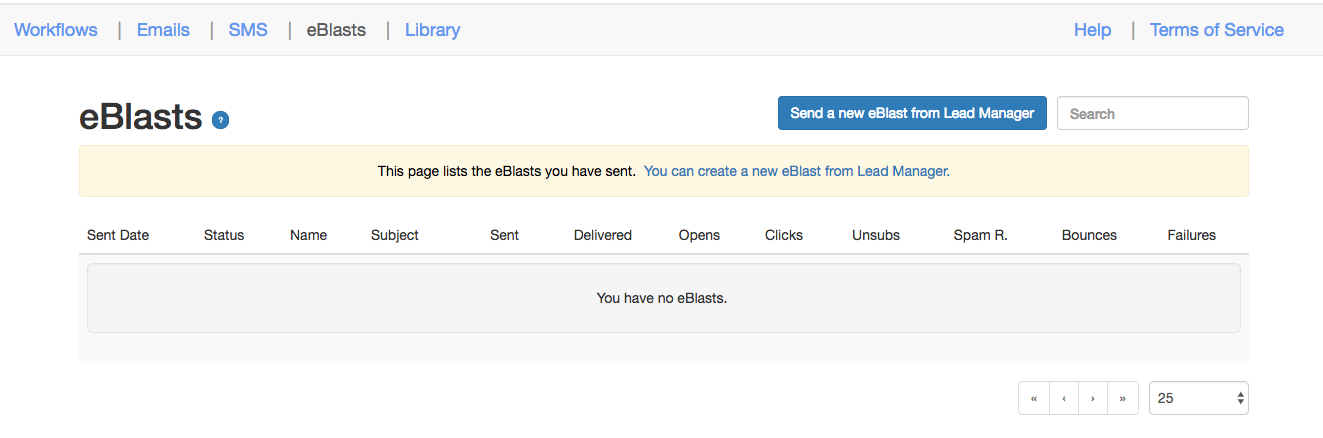
This section contains all the eBlasts that you had sent out from the Lead Manager system. You can view the statistics of the eBlasts that you sent out, such as how many opens and clicks an email to a lead had.
Sending eBlasts
To send eBlasts (available only to Admins and Team Leaders), go to Lead Manager:
- Go to the leads page.
- Perform a search or click the checkbox next to all leads you would like to reach.
- Click the 'Actions' button and select 'eBlasts“.
- Choose to send the eBlasts to only those checked or all leads in your current search.
- From the popup, you can choose an existing email template to modify, or you can start from scratch.
- Edit the Subject and Body as needed. As with workflow emails, you can add merge fields like {{LEAD_FIRST_NAME}} to automatically insert lead information.
- Also as with workflow emails, any leads that are missing data for a merge field will not receive the eBlast.
- Take a moment to carefully proofread your email, then click 'Next'.
- Verify the action on the confirmation screen. Once you click ‘Send eBlast’, there is no way to cancel delivery!
- Click 'Send EBlast' to queue your emails for delivery.
Important: After clicking 'Send eBlast' there is no way to cancel delivery, so please carefully proofread double-check your email and the leads you want to reach. Emails will be queued for delivery, so they will not arrive immediately.
Please Note: Leads that have opt-out of contact will not be included within the eBlast
To learn more, click here.
Understanding deliverability of eBlast emails
There are a number of reasons that the total number of emails under 'Sent' or 'Delivered' may not match the number of the leads selected when creating an eBlast
- The 'Sent' count may be lower that the number of leads selected for the eBlast if any of the following are true.
- The email address is missing.
- The email address is invalid or incorrect.
- The email address has previously unsubscribed or opted out.
- The 'Delivered' count may be lower that 'Sent' count for reasons found here.
Library
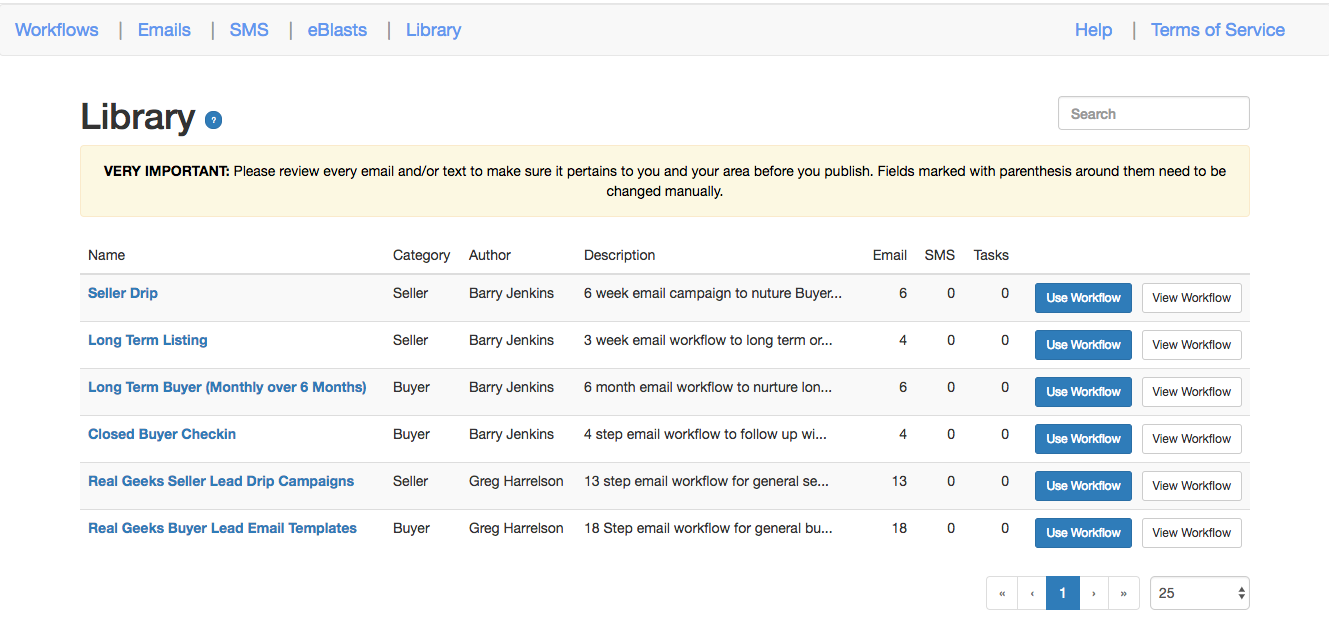
This section contains all the pre-made workflows available within our Drip system that had been shared to us by other clients (e.g. Barry Jenkins).
You can view the different workflows available here or start using one of these workflows for your users.
Important: Some of these workflows includes placeholders that are not supported within our system. For example, Greg Harrelson's workflows utilize a ”(City Name)“ placeholder in some of the email steps. So you will want to replace these placeholders before you start using the workflow.
Allow Other Users to Manage the Drip System
You can allow other users within your system access to the Drip system by changing their permissions within the Accounts System
From there, you will want to change your user's permissions to include the “Drip workflow Manager” role.

Click here for our docs regarding how to change user permissions within the Accounts system.
Set Office Hours for SMS and Emails

To restrict SMS and Emails to go out within certain hours, Login to Drip:
- Click on the Settings page.
- Check 'Restrict Delivery to Office Hours'
- Under 'Restrict delivery of these services to office hours', check the services you wish to restrict to office hours
- Select your time zone
- Check the box for the weekdays you are open.
- Select the start and end time
- Click 'Save Settings'
Important: By default, office hours is off. You must configure it to avoid sending SMS or emails during certain hours. Also these office hours are not connected to those in Lead Manager.
Online Help
If you ever need help, click on the ? sign to get a tour of the features on that page.
This concludes our whirlwind tour through the Real Geeks drip system.