This is an old revision of the document!
Table of Contents
Usage Guide
Background
To make it easier on everyone, a new user management system has been developed. It will soon connect all of the Real Geeks control panels to one account. As you may or may not know, in order to use the Lead Manager – you need a new account for every site you have. Additionally, you need a separate login for the administration pages. Now, you need YET ANOTHER login for the billing management system. That's a lot of logins. So we're cutting them down to one login per user, or at least, that's the goal.
If that weren't problematic enough, there was previously no way for our customers to add coworkers or employees to their accounts to take care of things like: writing content, managing craigslist, or making blog posts! Well fret not, my friends! Help has arrived.
Welcoming the Accounts Management system – https://accounts.realgeeks.com/.
The login you've been using for your billing is now the login you'll use for administering your sites. Soon, it will also be the login you use to access your leads. Then shortly after that, you'll only need to login once to access any of the Real Geeks services.
Accessing the Permissions System
First, if you've not used the permissions system yet or you have not yet been an administrator for the accounts system– you need to have the registered owner of the site (ie. the person paying the bills) to proceed any further.
1. Login to https://accounts.realgeeks.com/ with your email and password.
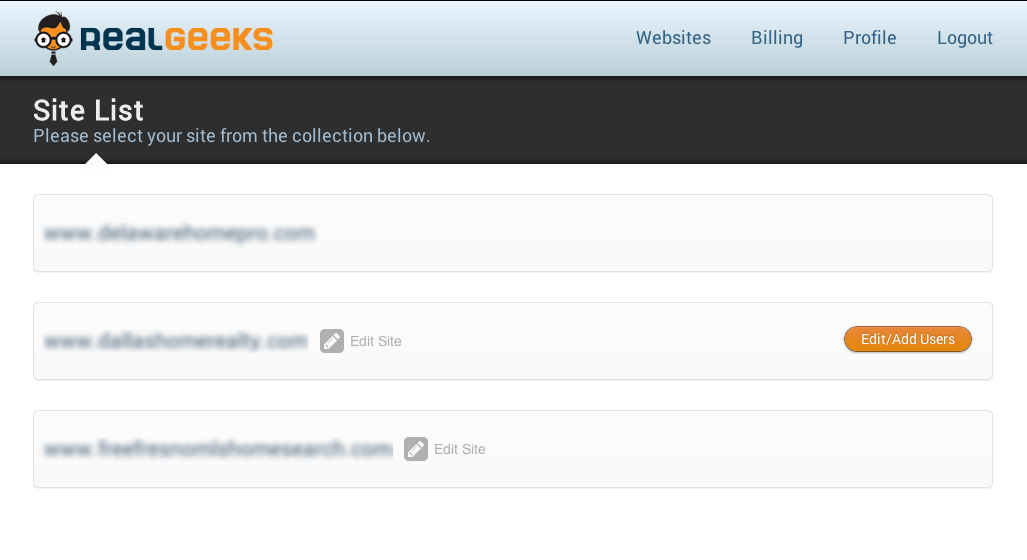
2. Click on the “Websites” heading in the accounts management system. It is now, by default, your homepage.
3. Select the site for which you would like to modify the permissions from the list provided, by clicking on “Edit/Add Users”.
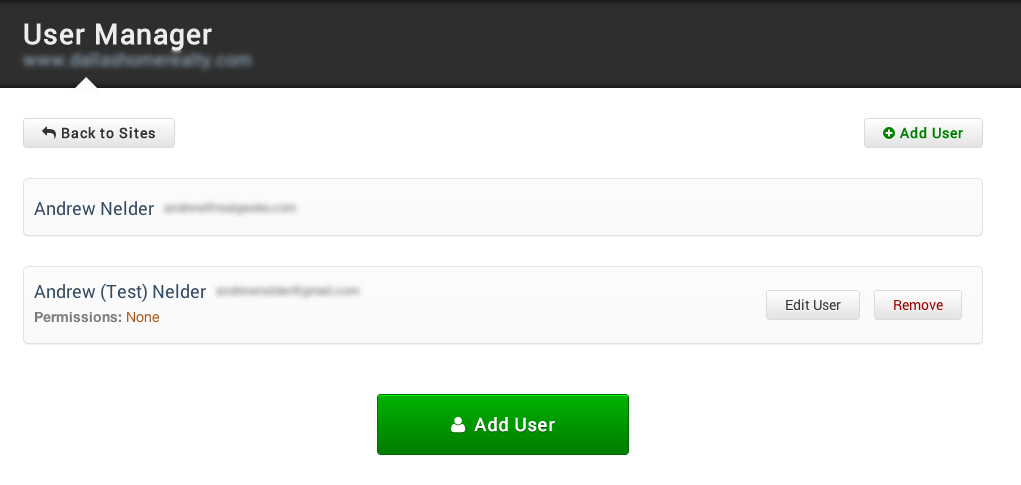
4. Once a site is selected, you'll be in the permissions system.
Adding or Creating a New User
1. Click on the “Add User” button on the top-right or the bottom of the page.
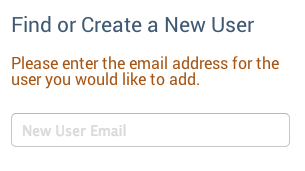
2. Insert an email address for the user in the box on the right hand side.
3a. If the user already exists in the system, you will be presented with something resembling the screen below. At which point, if you click “Add Existing User” you are done.
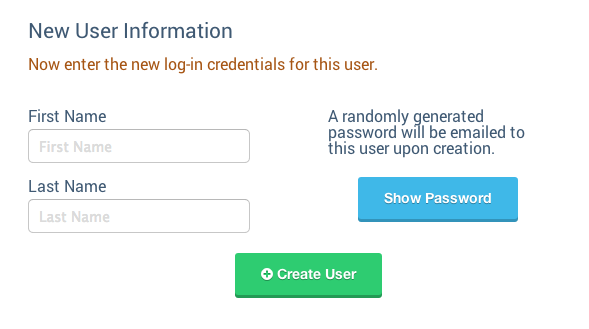
3b. If the user does not yet exist, you'll then be taken to a screen that will allow you to create the new user.
4. Finally, once the user is created or the existing user is added, you can then just begin modifying permissions.
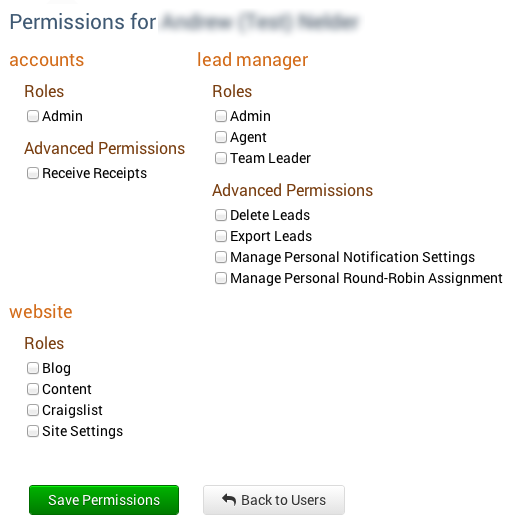
NOTE: Your permissions form will look significantly different. Some of these permissions are not yet available.
Permissions Overview
Accounts
Coming soon! These permissions are still being tweaked.
These permissions affect the Accounts, Billing and User Management systems.
Roles
- Administrator - Administrators are allowed to modify the permissions of other users; effectively doing what you're doing now. Administrators are NOT, however, allowed to modify their own permissions.
Permissions
- Receive Receipts - Every month/year (depending on your configuration), receipts are sent out to the account owner. If the user has this permission, they will receive a copy of your receipt in the email. Note, however, that if you have multiple sites, they will receive a receipt for EVERY SITE YOU OWN.
Website
Roles
- Blog Manager - Create, modify and delete blog posts.
- Content Manager - Create, modify, and delete content/area pages.
- Site Settings Manager - Modify site settings (logos, basic information, etc.)
Lead Manager
Coming soon! These permissions are still being tweaked.
These permissions affect http://leads.realgeeks.com/.
Roles
- Administrator
- Agent
- Team Leader
Advanced Permissions
- Delete Leads
- Export Leads
- Manage Personal Notification Settings
- Manage Personal Round-Robin Assignment
How to Remove Users
Select the site you would like to modify, then select the user from the side bar. Once you've opened the permissions page; simply click, “Remove User” on the right. It will remove that user's associations with that particular site. If that same user is a member of any other sites you may own, you'll need to repeat this process for all of the other sites.
NOTE: This will not DELETE a user. It will simply remove their permissions.
How to Change Passwords
We have given you the power to send password resets to your employees. By selecting the user you would like to send a password reset for from the left bar, you may now click on “Send Password Reset”, to send them an email that will allow them to change their password without prior knowledge of what their password is already. This means, you could _Create a User_ using the steps outlined, then send them a password reset so they can pick their own passwords!

