This is an old revision of the document!
Table of Contents
Lead Manager: User Permissions
Dashboard
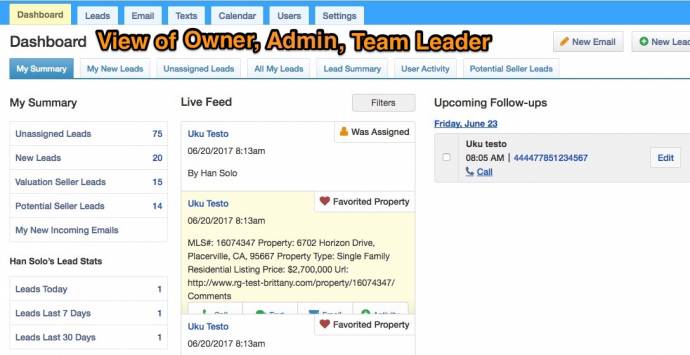
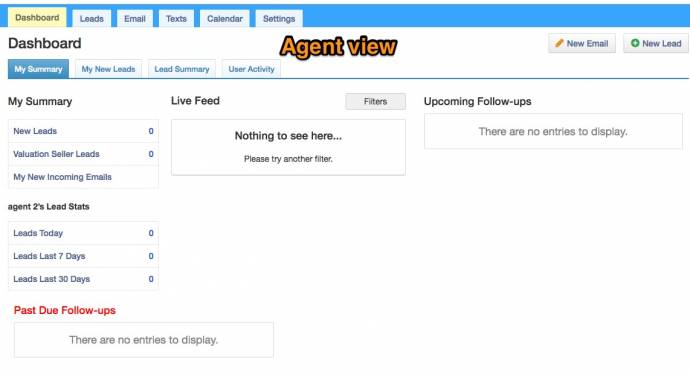
Here is where users can view their lead summary, live feed, upcoming/past follow-ups, and lead stats.
Owner/Admin/Team Leader View
Agent View
Lender View
In the “Dashboard” tab, you will see under “My Summary”, you will see the “Valuation Seller Leads” and the “Potential Seller Leads”. The “Valuation Seller Leads” option is viewable by the other users. The “Potential Seller Leads” stats are for owners or admins only because it shows all potential seller leads, whether they are assigned or not.
Admin accounts have more tabs versus the other users' view of the lead manager. There are tabs that are specific to admins only, such as the “Users” tab, the “Unassigned Leads” tab, the “All My Leads” tab, and the “Potential Seller Leads” tab.
Leads tab
The “Leads” tab shows ALL leads assigned and unassigned. Here, as an owner or admin (or team leader), you are able to change the lead assignment. Owners/admins can also delete leads, download CSV of all of your leads or specific leads, bulk reassignment, send email drips or Eblast, or create new leads.
These users are able to give permissions to other users (agents/lenders) to delete or export leads.
NOTE: if you create a lead through the lead manager, they will NOT receive the welcome email. In this case, you can either create an email template of the welcome email and send it to them or sign them up through the site.
To learn more about the “Leads” tab, click here.
To learn how to export leads, click here.
To learn how to import leads, click here.
To learn how to connect with other CRMs, click here.
Email tab
Here, you can keep track of all lead email correspondence as well as messages that leads fill out from the “Contact Us” form on the site. All users have access. Learn more here.
To see references for good follow up emails: click here.
Text tab
Here, you will be able to see all texts to and from your leads, as well as the auto responder texts. Each user except lenders will have access if their site owner/admin enables the texting tool. To learn how to enable the texting tool, click here.
Calendar tab
Here, you can view all past and future follow ups you create from the lead's detail page. All users have access. To learn more, click here
Users tab
The “Users” tab is where Site owners, Admins and team leaders can find, edit permissions, and log into users (agents/lenders).
Site owners: can log into any users except for other admin accounts.
Admins: can log into all users, except site owner and other admin accounts.
Team Leader: can log into agent, lender, and other team leader accounts.
To learn more, click here.
Settings (General) tab
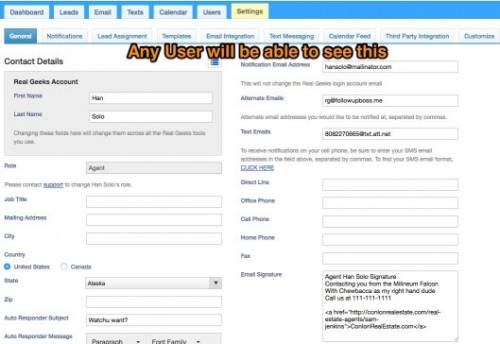
Here, Site owners/admins can add contact details, set their status for the round robins, and edit their notifications. Any user will be able to add contact details but will need permission from the site owner/admin to set their statuses for the round robins and edit notifications.
If the site owner/admin/team leader scrolls down, they will see these options.
Settings (Notifications) tab
Any user will have their own “Notifications” tab if the site owner allows them permission to update their own notifications. The site owner/admin/team leader view is the “User notification Settings” found on the right are meant for you to keep track of the notifications of your agents/lenders.
Settings (Lead Assignment) tab
Here is where the site owner, admins and/or team leaders can set up the agents on the Round Robin, Manual, Weighted Round Robin, or Geographic Round Robin or any reassignment.
The Round Robin is a way to automatically assign leads to each agent equally.
On the Manual setting, you would need to manually assign each lead that comes in to the agents or to yourself.
There is also Weighted Round Robin. The Weighted Round Robin feature allows a site owner or manager to automatically assign leads to individuals based on the weight assigned to the agents. You can learn more here.
If you prefer to have your leads assigned by geographic location, you can learn about it here.
Idle lead reassignment only will reassign a lead one time. So if the first agent does not have any activity on the lead within the allotted time, it will move to the second agent. If the second agent does not have any activity on the lead within the allotted time, it will not matter and the lead will remain assigned to the second agent.
Settings (Templates) tab
Creating email templates, autoresponder texts, and text templates are available for each user. (note: the text templates/auto responders only work if the site owner/admin enables texting)
To learn how to set up the email templates, click here.
To learn how to set up the auto responder texts, click here.
To learn how to set up the text templates, click here.
Settings (Email Integration) tab
All users have the ability to set up their own email in each account. To learn more about setting up your email, click here.
Settings (Text Messaging) tab
Owners or admins can enable the texting tool. For information about this tool, click here.
Settings (Calendar Feed) tab
This is where you can set up syncing your personal calendar to appear in the “Calendar” tab in the lead manager. All users have access to this. To learn more, click here.
Settings (Third Party Integration) tab
Here, you can integrate your Lead Manager with other lead sources besides your Real Geeks Website. All users have access to this tab, but some third parties that only admins/site owners have on their end are InfusionSoft and Mailchimp.
Learn more here.
Settings (Customize) tab
Here is where owners/admins can change the leads' source. The Roles/Type of a lead can now be customized along with Statuses and urgencies. The “Tags” option is available to all users. The options available specifically to site owners/admins are “Sources”, “Statuses”, “Urgencies”, and “Types”. To learn more click here.
Facebook Ads Manager
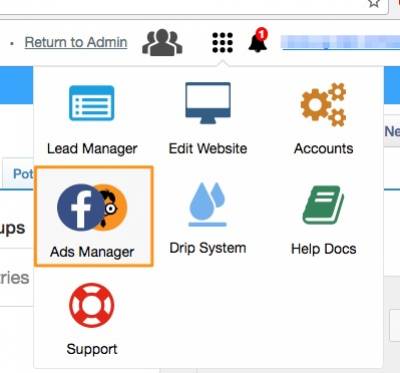
Only the site owner is able to enable this. They can give permission to any user to use the tool. To learn how to set it up, click here.
Email Drip
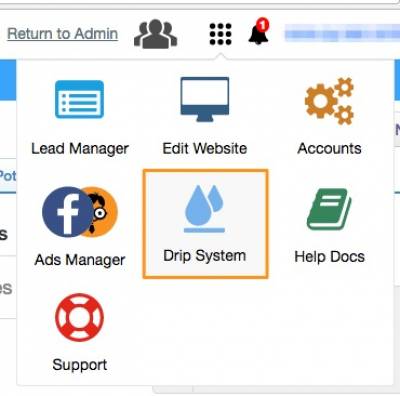
Only the site owner is able to enable this. Note: The site needs to be on our name servers to be able to use the drip feature.
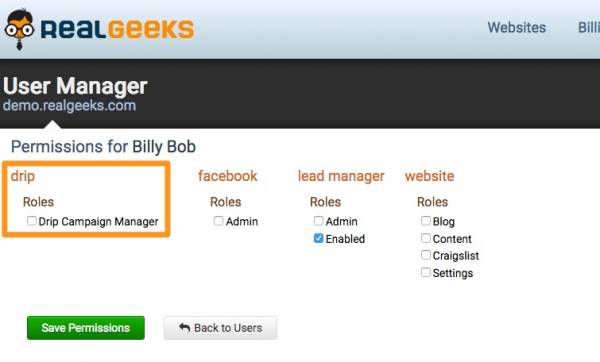
The site owner can give any user access to administer the drip system workflows/templates from accounts > “Websites” tab > “Edit/Add users”:
Learn more about the Drip feature here.

