This is an old revision of the document!
Table of Contents
Outgoing Leads using Zapier
Using Zapier you can send leads from your Real Geeks website to multiple destinations.
Here is how it works: https://zapier.com/how-it-works/
Once you have an account in Zapier you'll create a Zap, which consists of a Trigger (where leads come from) and an Action (where leads go to). We have a Real Geeks Trigger inside Zapier that will send leads from your website to Zapier, then from Zapier you can send to any of the 500+ apps Zapier integrates with.
We have two triggers, one for leads and other for activities. If you want to send both new leads and new activities somewhere you'll need to create two Zaps, one for each trigger.
First access the link below, since our app is in beta you need an invite to enable it for your account:
https://zapier.com/developer/invite/44011/c2fcf37811f756600c7363c4cbf14988/
Creating a Zap
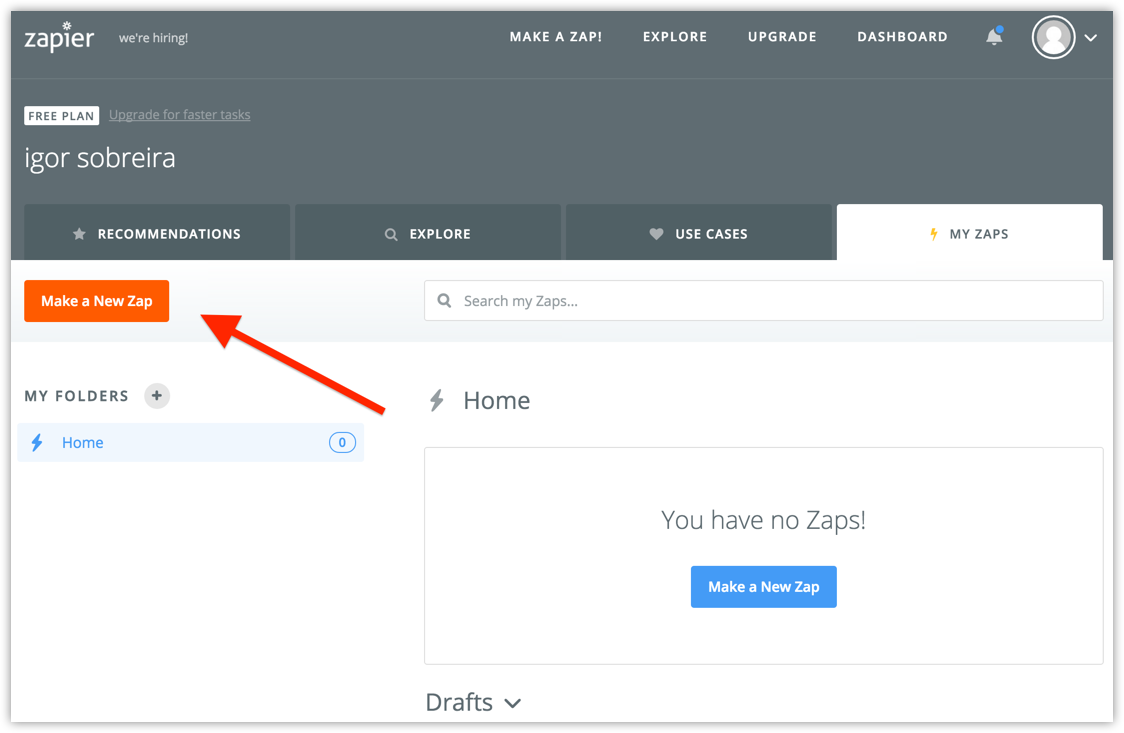
Go to your Zapier Dashboard and click Make a new Zap
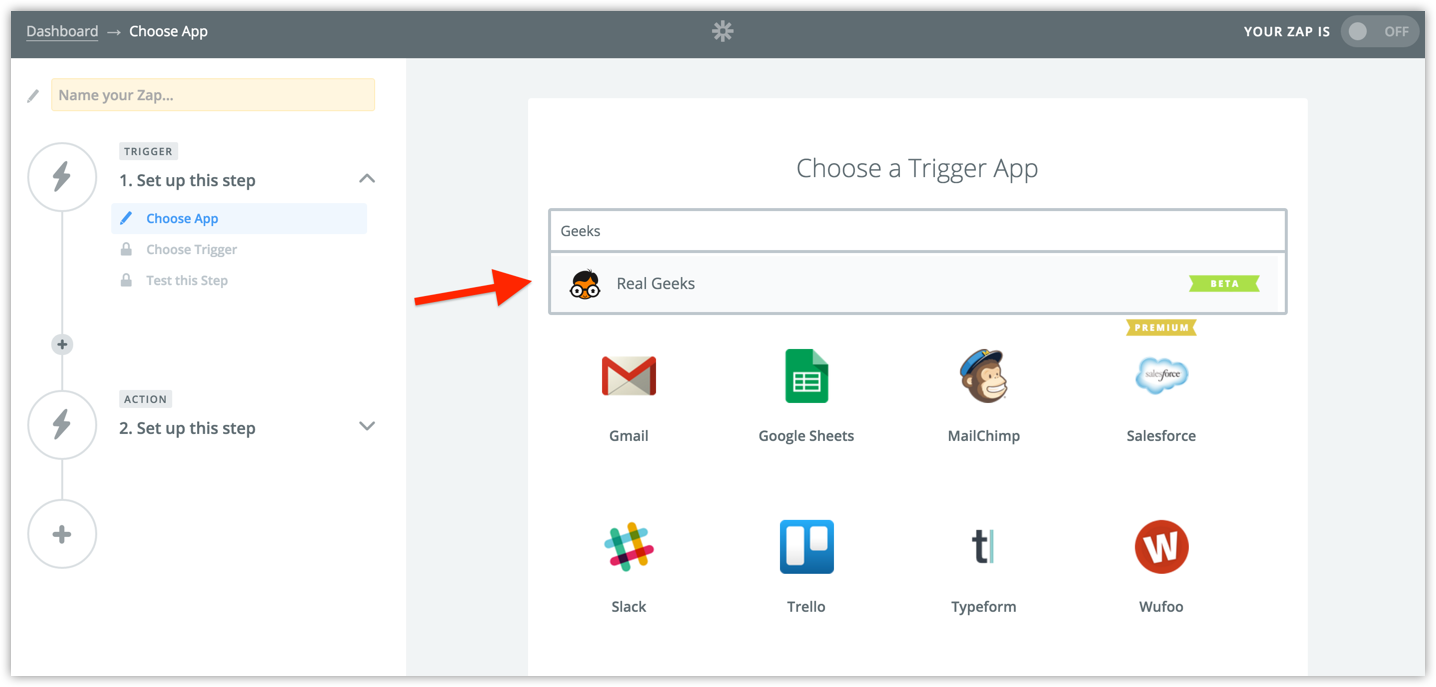
We are going to use the Real Geeks app, search for it and select from the list
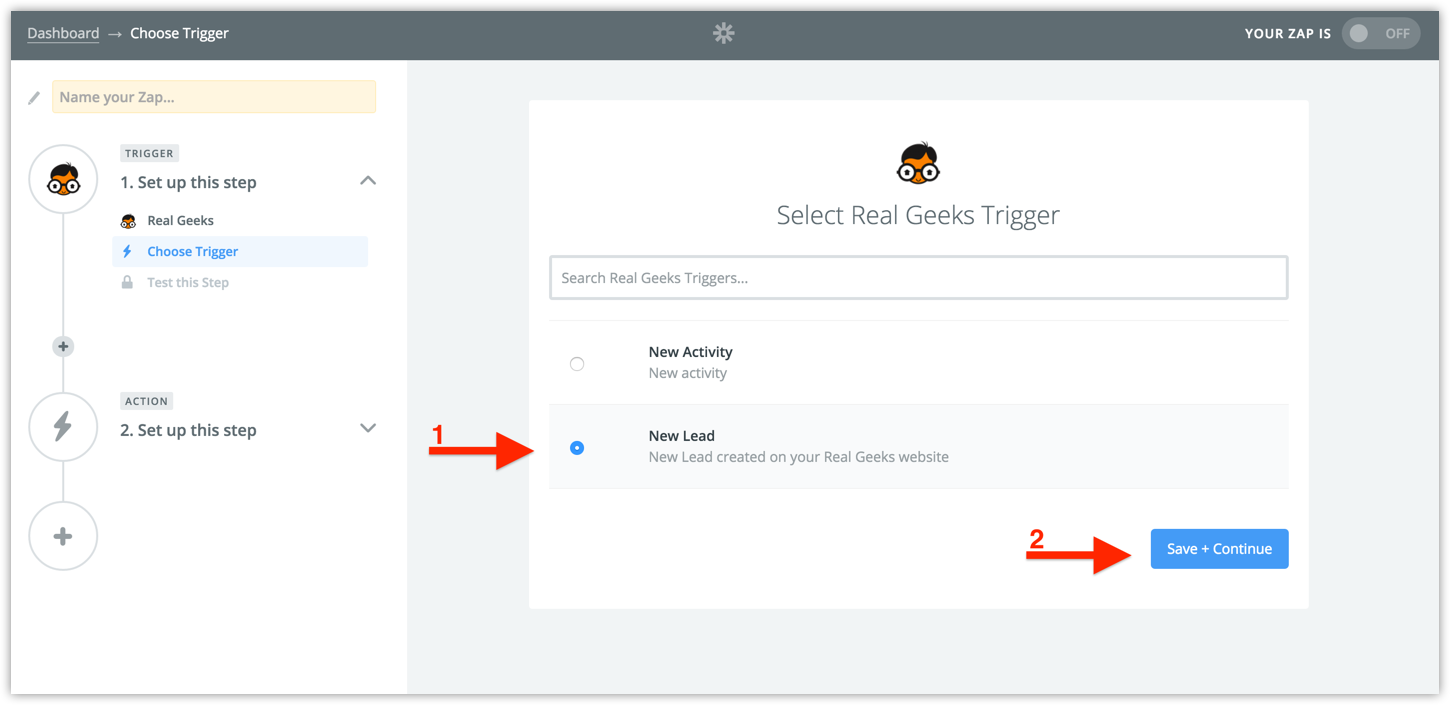
Real Geeks app offer two triggers. New Lead will triggers when somebody signs up on your website. New Activity triggers when an existing lead does something on the website, like performing a search and viewing a property. Select the trigger you want and click continue.
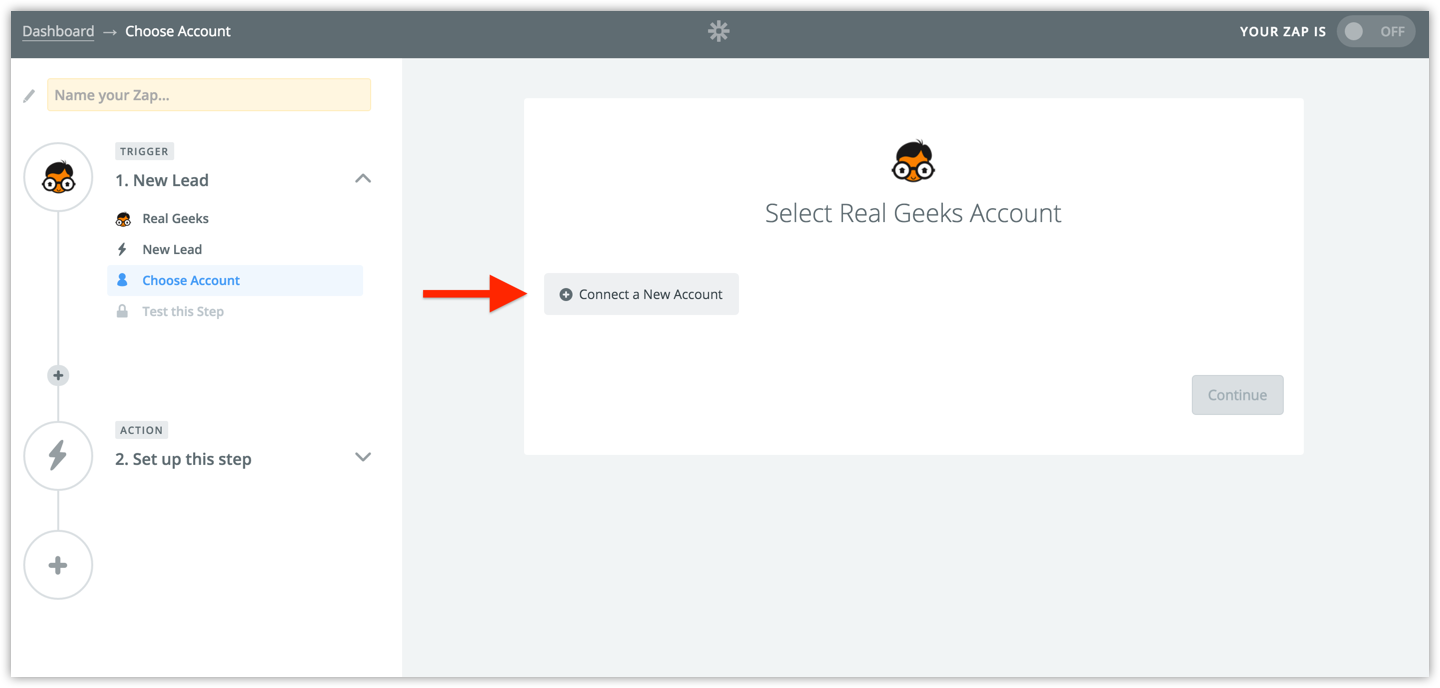
Now you need to authenticate with your Real Geeks account, click Connect a New Account
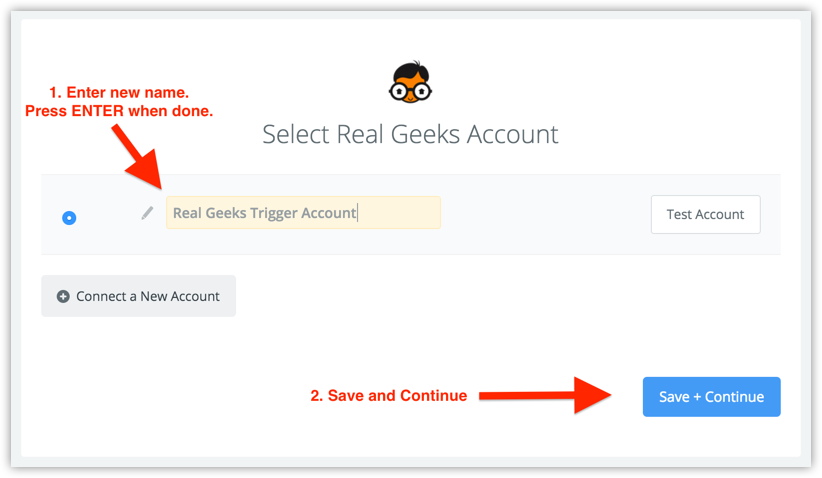
The popup will ask for a name to identify this account, since we differentiate between Trigger and Action connections we suggest you identify this in the name. Click Continue to authenticate with your Real Geeks account
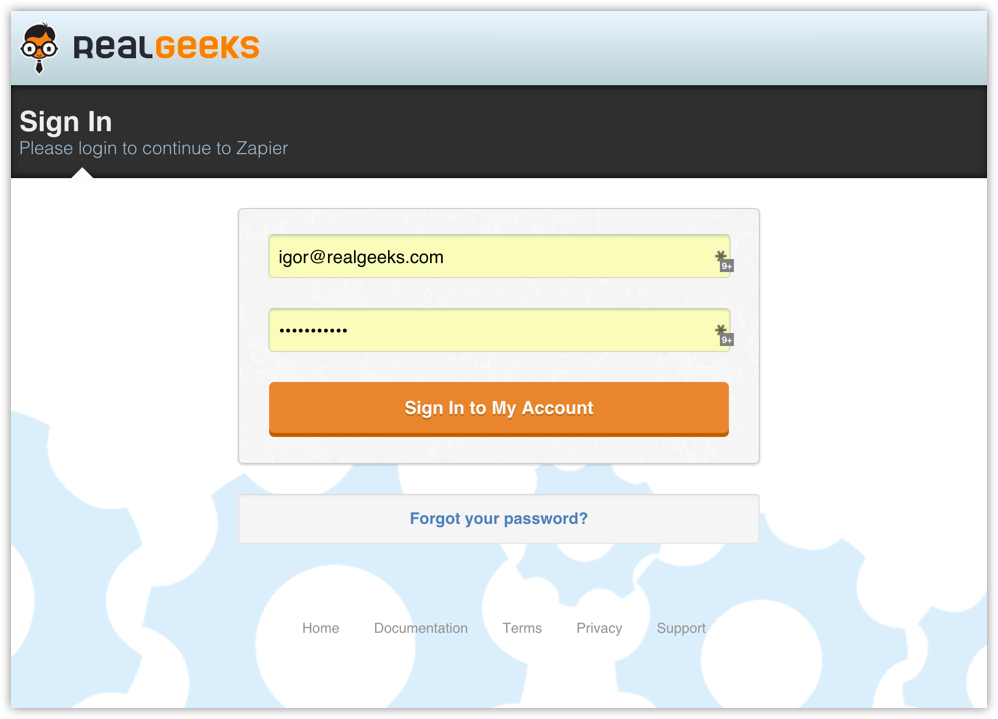
A new popup will open asking you to login with your Real Geeks account. If you're already authenticated with Real Geeks in your browser you won't see this page, jump to the next step
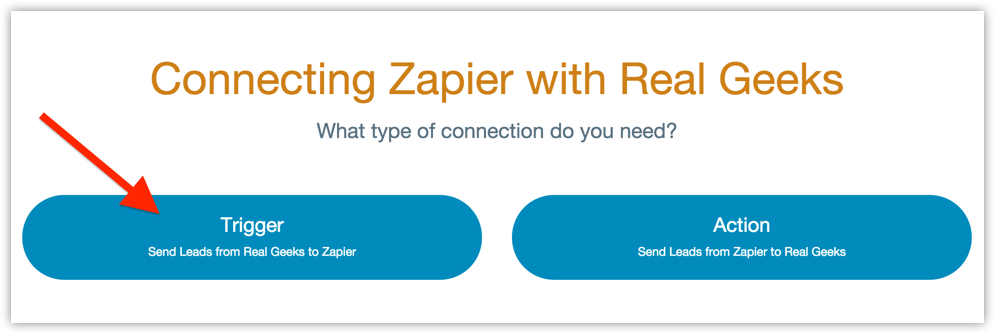
After a successful login the Zapier configuration begins. First step is selecting what type of connection you are configuring with Zapier, in this case we are using Real Geeks as a Zapier Trigger, because leads are from Real Geeks to Zapier
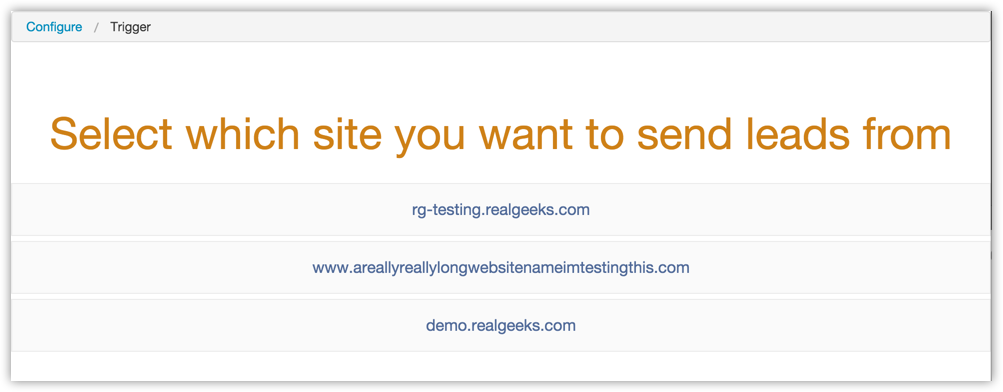
Then you'll select which site leads will come from, if you have more than one site.
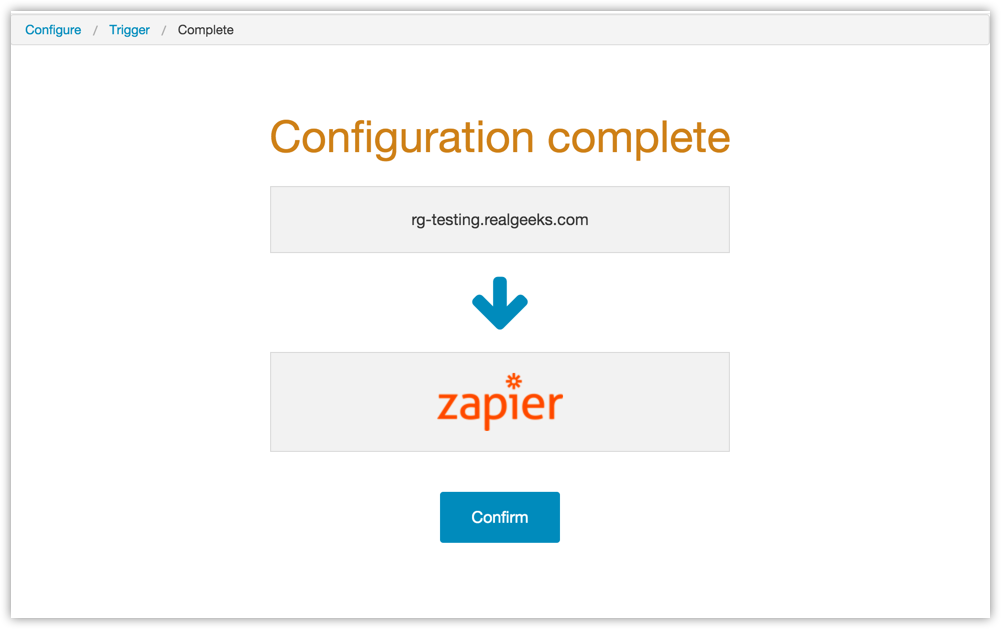
Your authentication is now complete. Confirm and the popup will close automatically.
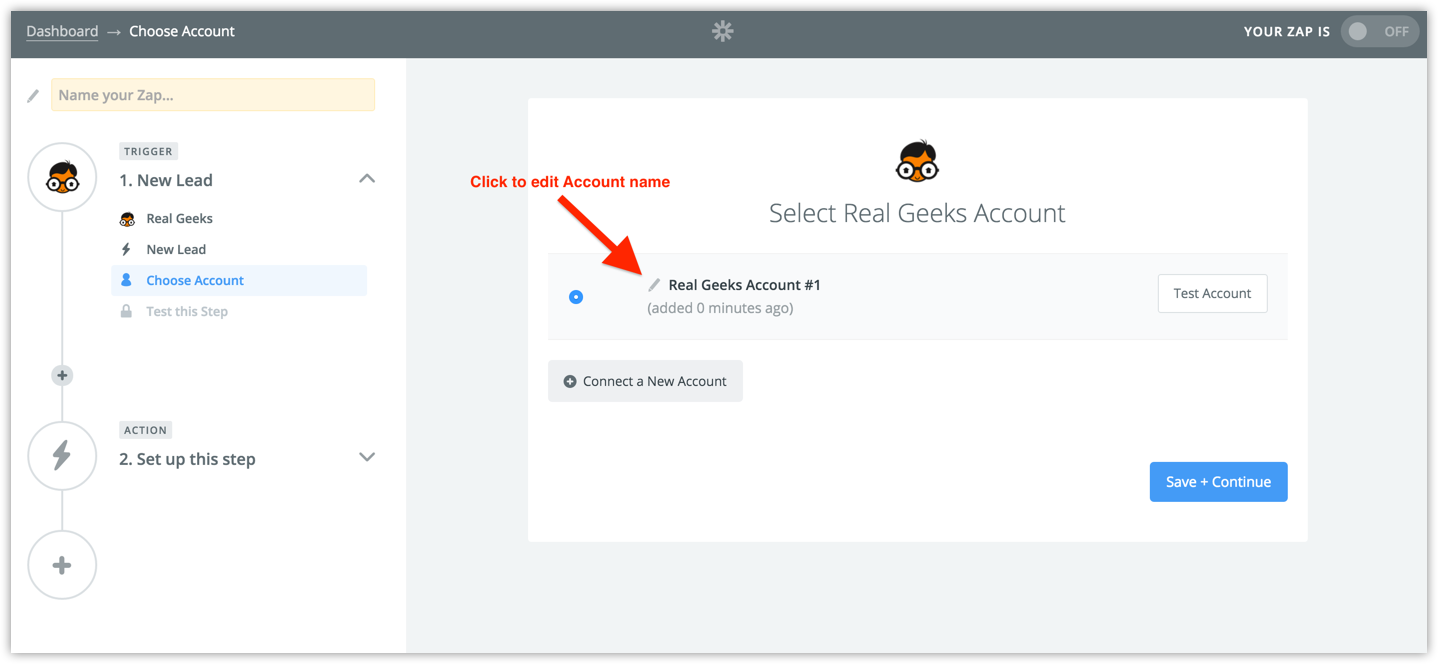
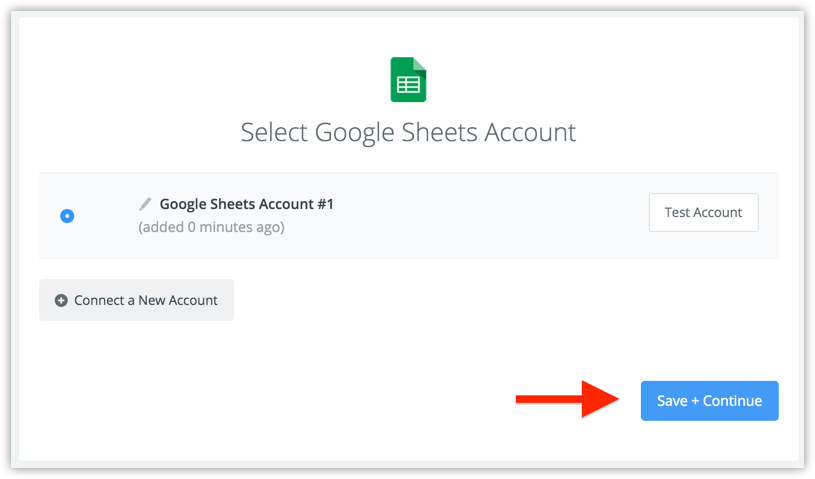
The account you just connect will be on the list. You can edit the name to be more descriptive name
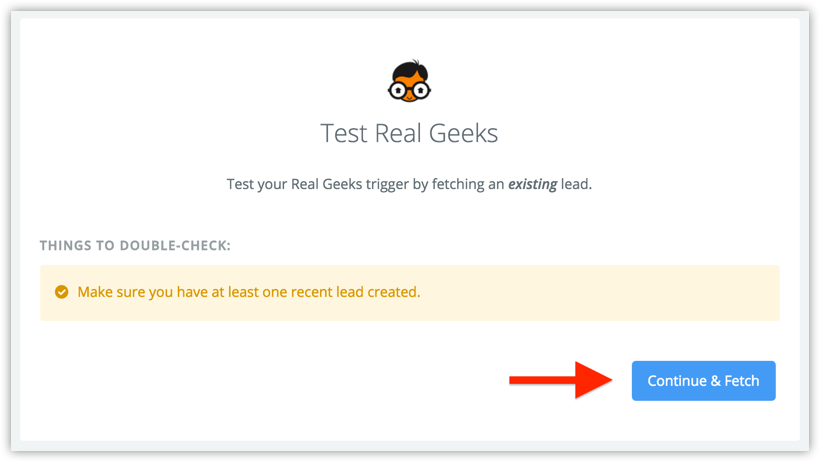
Zapier will now test your connection with Real Geeks by fetching a sample we provide. Click Continue & Fetch.
All good! Let continue.
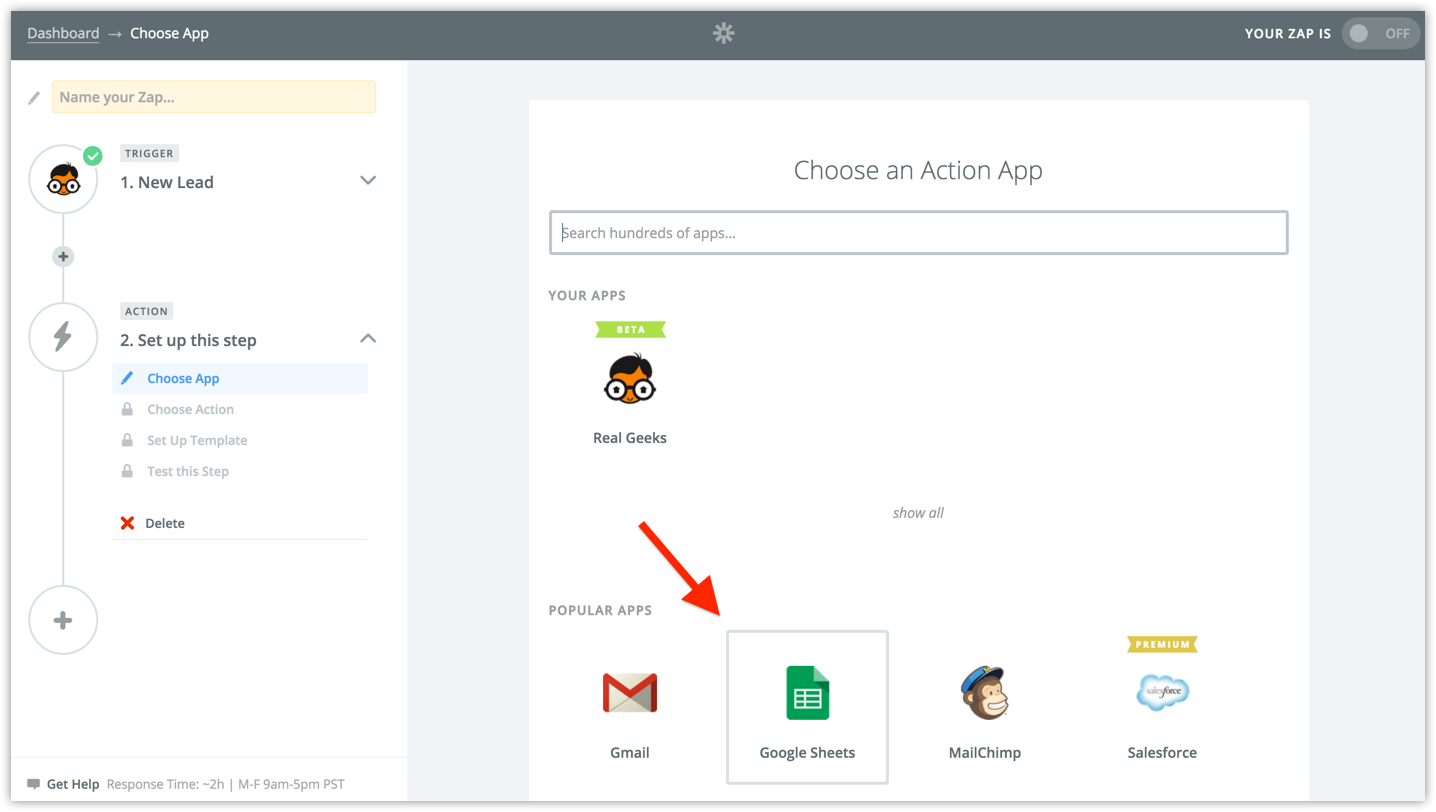
Now the trigger is configured, it means our leads source – Real Geeks – is configured. Time to setup the destination. These steps will vary depending on the App you want to integrate with, for our example I'll add every new lead to a Google Spreadsheet
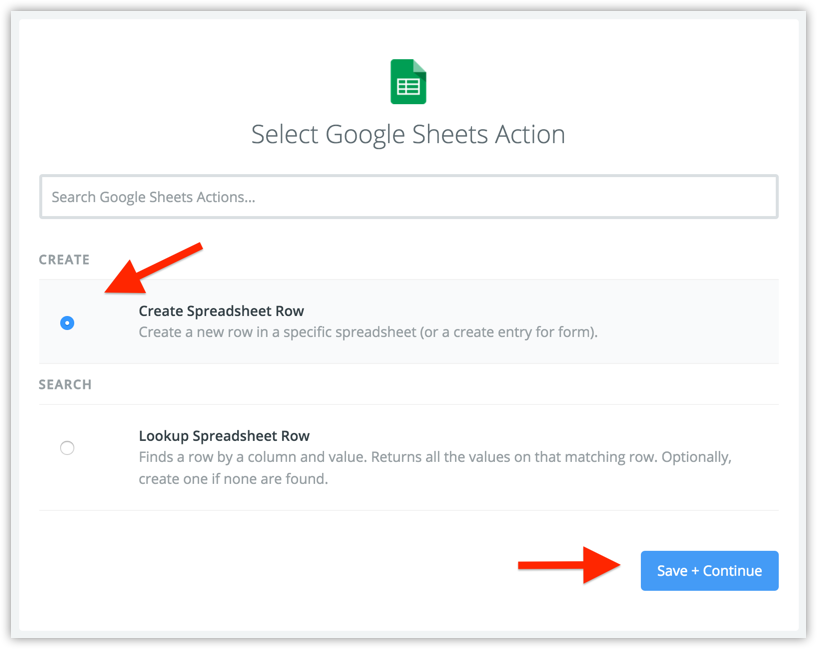
The specific action I want to happen is every time a new leads comes in I want to add a row to my spreadsheet with the lead details
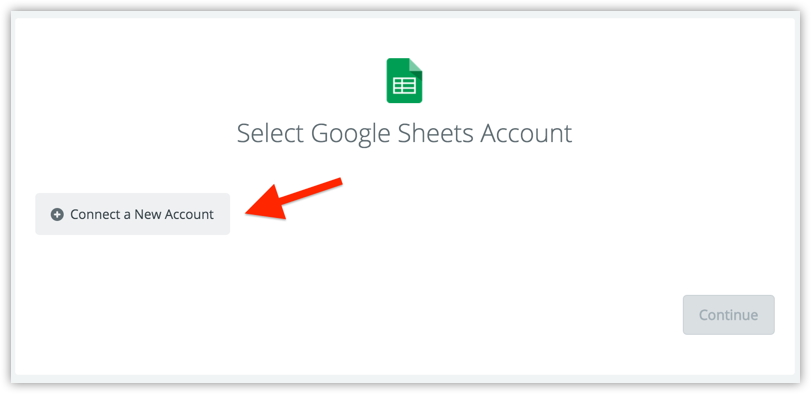
Since I'm using Google Spreadsheets I need to authenticate with my Google Account
Then Google will ask me to choose which spreadsheet I want to edit
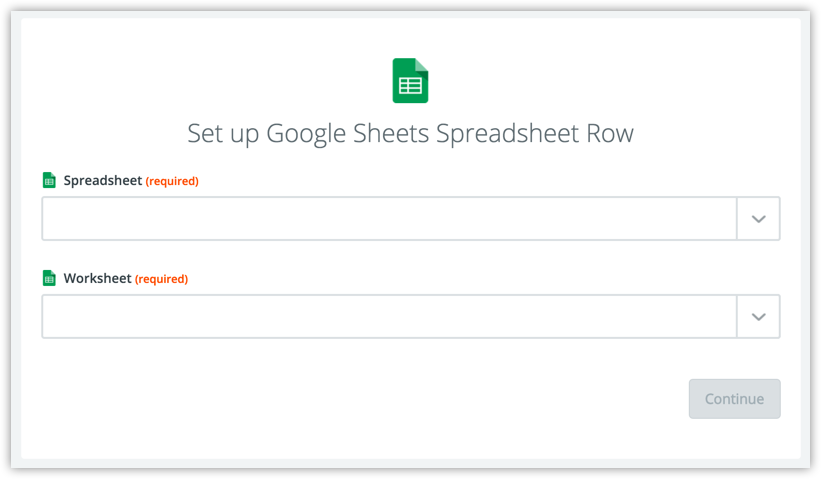
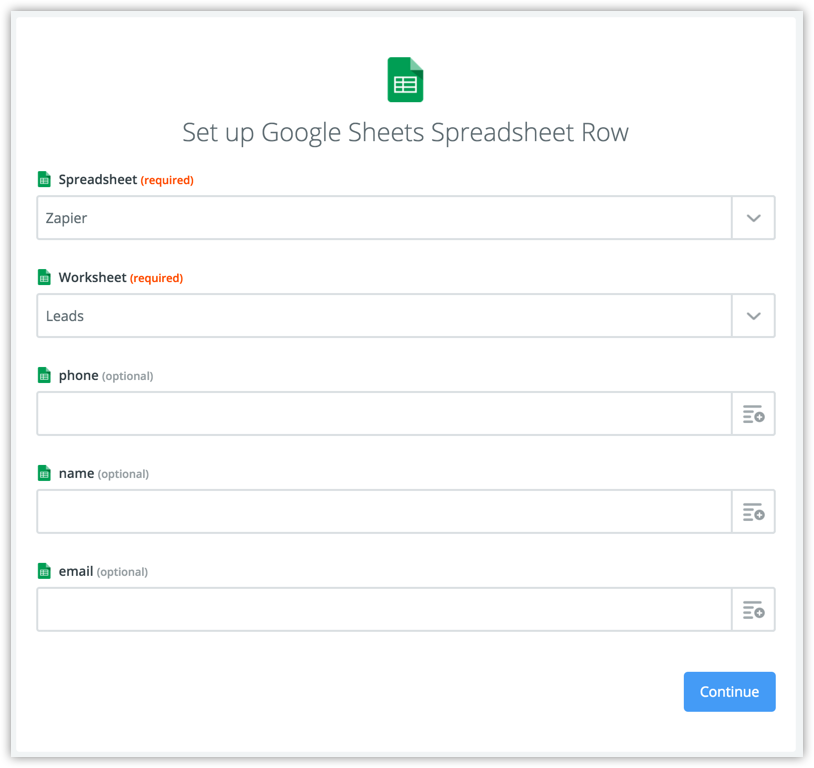
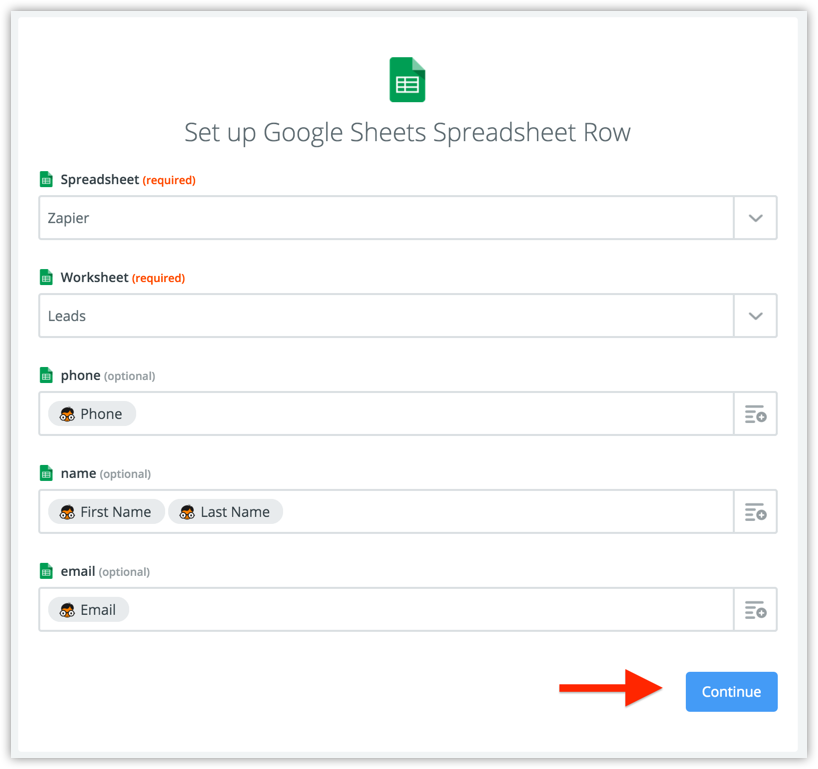
When you select the spreadsheet Zapier will ask you to map the lead fields exposed by Real Geeks to the columns available on that spreadsheet. This step is very important and will vary depending on the App you're integrating with, each App has different fields and you need to map them as you see fit
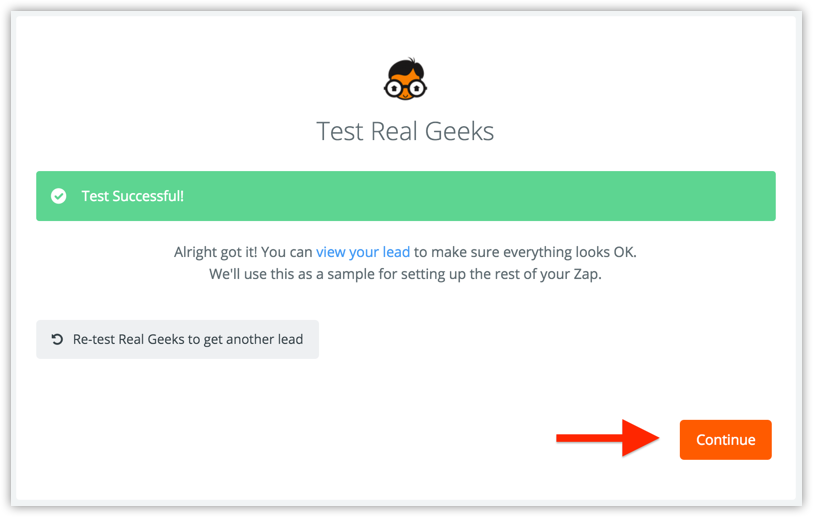
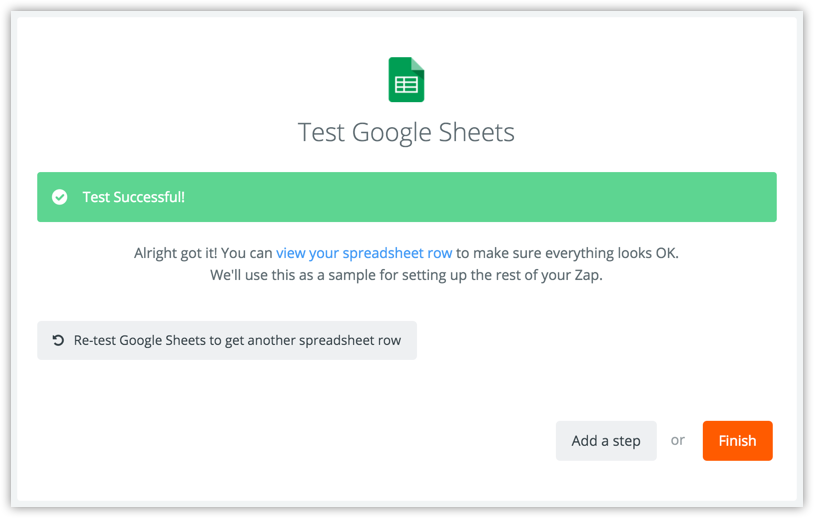
Zapier will now test your connection with Google, click Continue & Test

Test was successfull, that means a new row was added to my spreadsheet with a sample Lead. Click Finish.
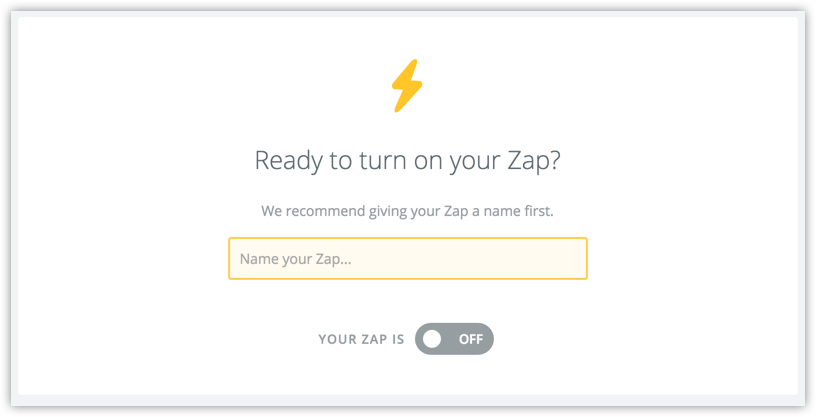
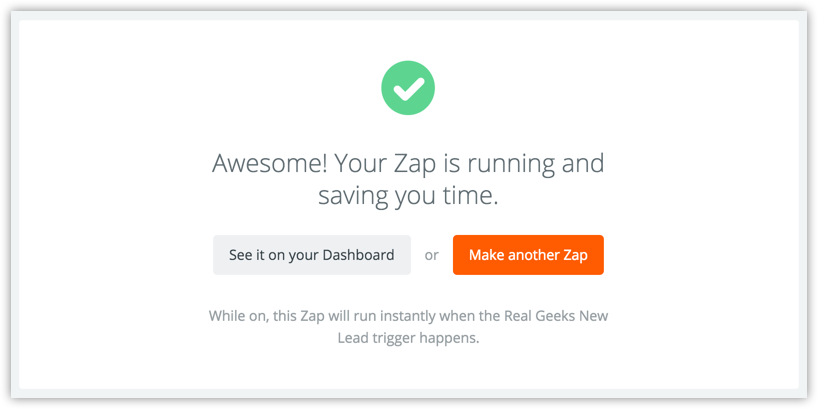
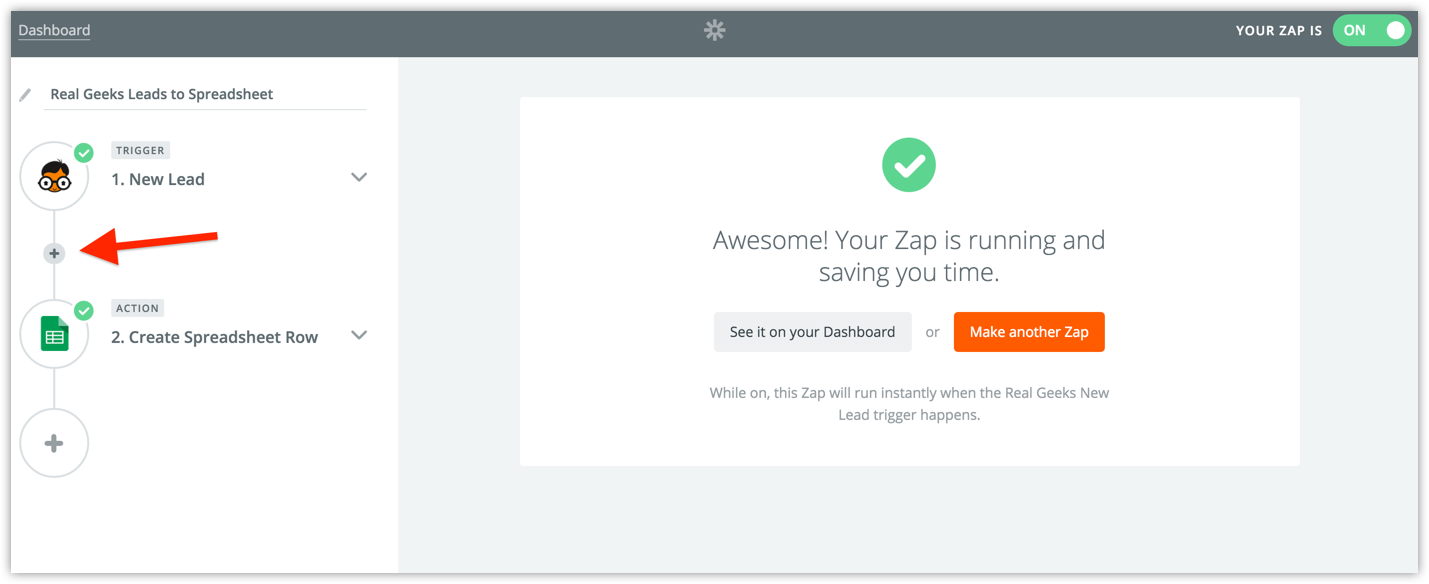
And you're done, just give a name to your new Zap and turn it on.
Adding filters
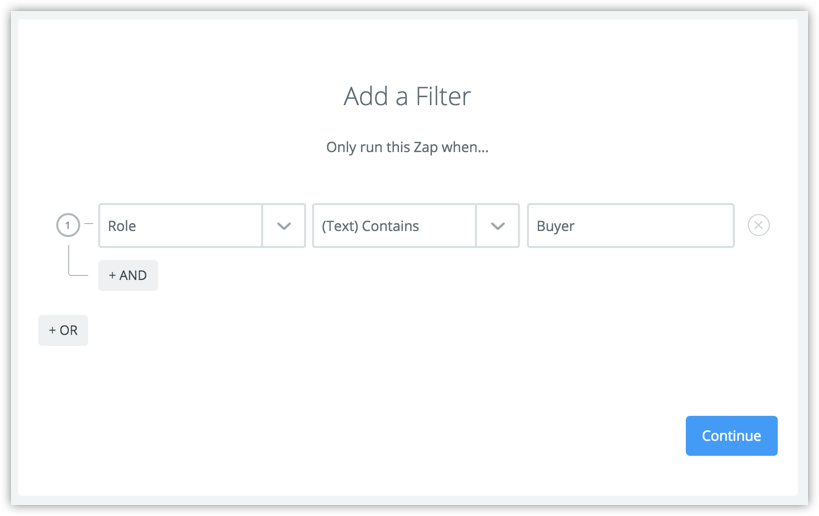
Zapier lets you filter messages coming from one App to the other. For instance, I could filter the leads Real Geeks to my Google Spreadsheet to send only Buyer, not Seller, leads. And if you're using our New Activity action from Real Geeks App, you could filter on activity type.
I'm going to modify the example above to add a filter and send only Buyer leads to my Google Spreadsheet.
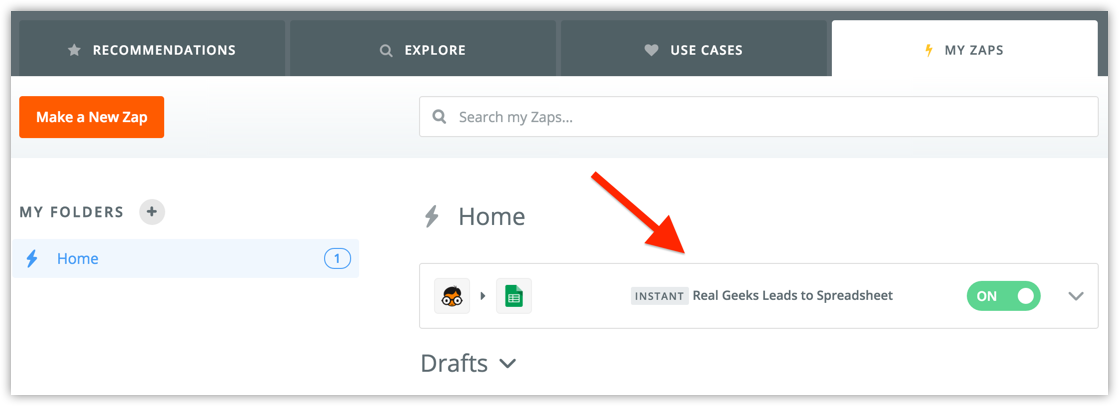
From your dashboard click on the Zap you want to edit
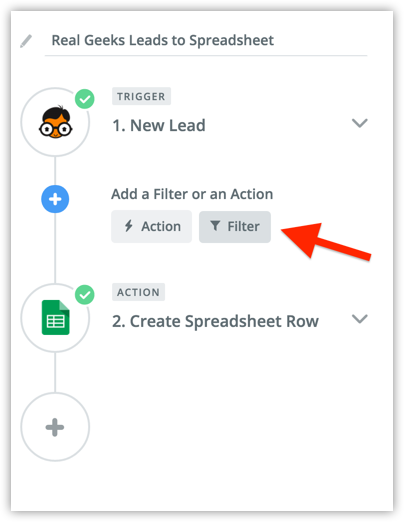
Click on the + sign between your Trigger (Real Geeks) and your Action (Google Spreadsheets), then click Add Filter
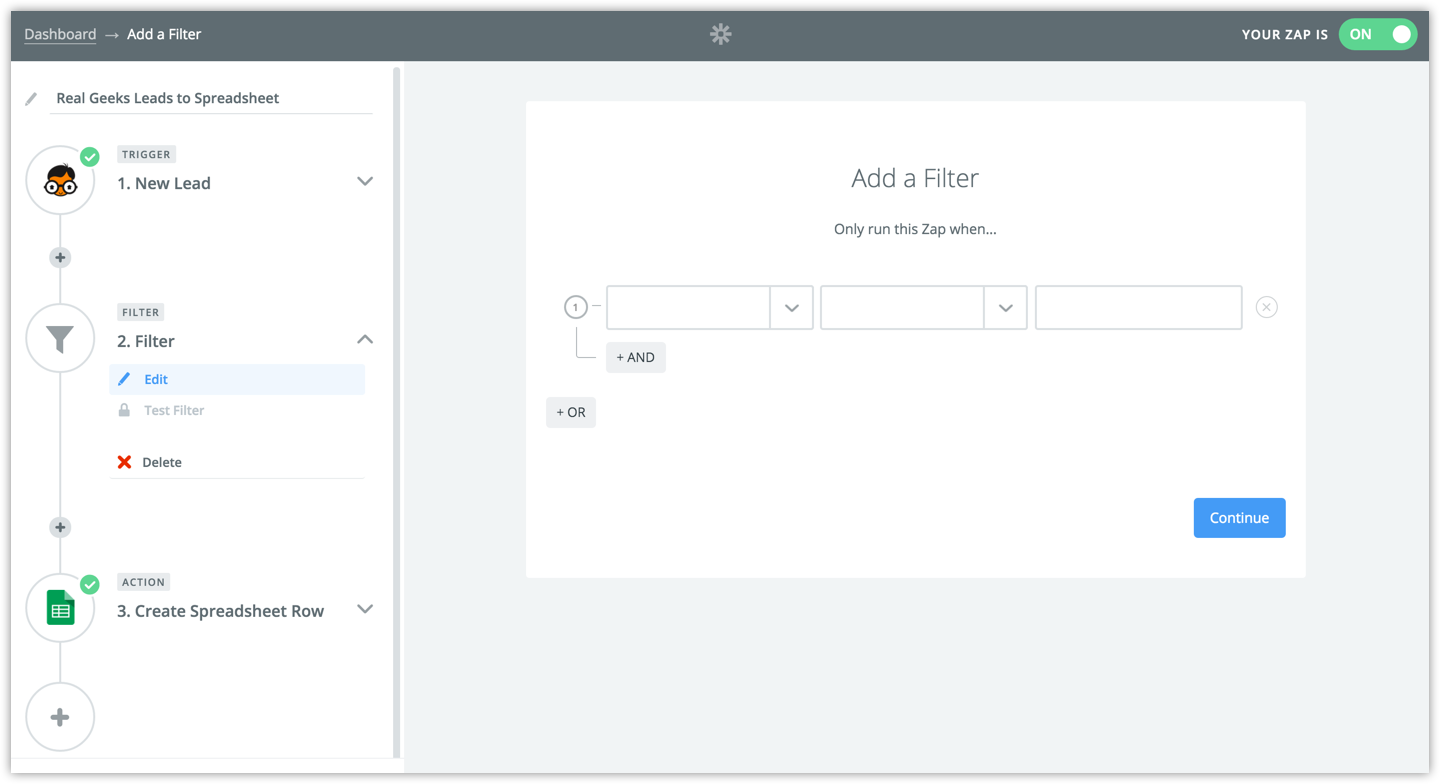
Select the field you want to use to filter and set the value
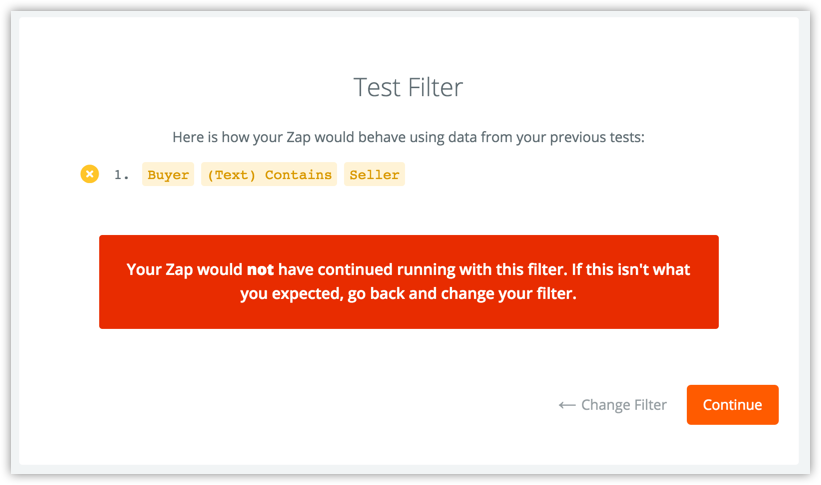
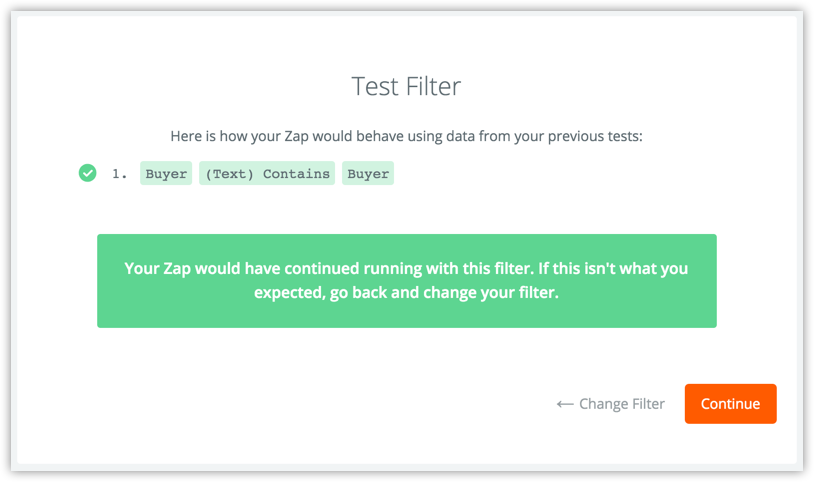
The following screen will show a success message. Just click Continue and your filter is created
If you see an error message like the one below, that only means that our sample lead Zapier knows about does not match the filter. Don't worry about that, as you start receiving real leads and activities your filter will be applied. If you're not sure which value to filter by contact support and we'll help you